With the busiest shopping season of the year on our doorstep, Halloween, Thanksgiving (AKA Black Friday), Christmas, and New Year, we wanted to show you how to manage all the amazing Capsule Collections coming your way with your Sonlet account. Nicole Couture from our amazing customer support team put together 4 short videos to show you how to save time managing your business this holiday season. Check out the videos below and read a short description of Nicole’s great tips below the video.
Tips for handling Capsule Collections with ShopTheRoe
Tip #1 – Add custom attributes when adding new inventory to your account
The custom attributes feature provides tons of flexibility for being able to tag an inventory item so that you can group it and find it later for posting and adding to Sonlet party pages. While adding or editing inventory, just click on the “Add” button. The button is available from the Add Inventory page, the Bulk Add Inventory page, the item edit menu or bulk edit page available from the Manual Listings or Inventory page. You can also use our new Quick Add attributes buttons, to add the most commonly used attributes to your inventory in a snap. Here’s a quick video to show you these quick add buttons work.
Tip #2 – Use SmartPost Custom to post Capsule Collections to Facebook
SmartPost Custom will allow you either include or exclude inventory that you’ve tagged with attributes. For example, you might want to post all of your inventory EXCEPT your Halloween inventory, because the Halloween inventory has separate albums. Or you might want to post only your Halloween inventory to Halloween albums.
Tip #3 – Create ShopTheRoe Parties for your Capsule Collections or Group Parties by Attribute
Create a ShopTheRoe Party page for your Capsule Collections from the Parties Page, then from your Manual Listings page, easily search for inventory with the attributes added to your inventory, click “Select All” and post your Capsule Collections to a Sonlet Party page by clicking “Add selected to party”. You can also easily remove your Capsule Collections from party pages if you have a hostess that doesn’t want to see holiday specific items at the Party by following the steps above and clicking “Remove selected from parties”.
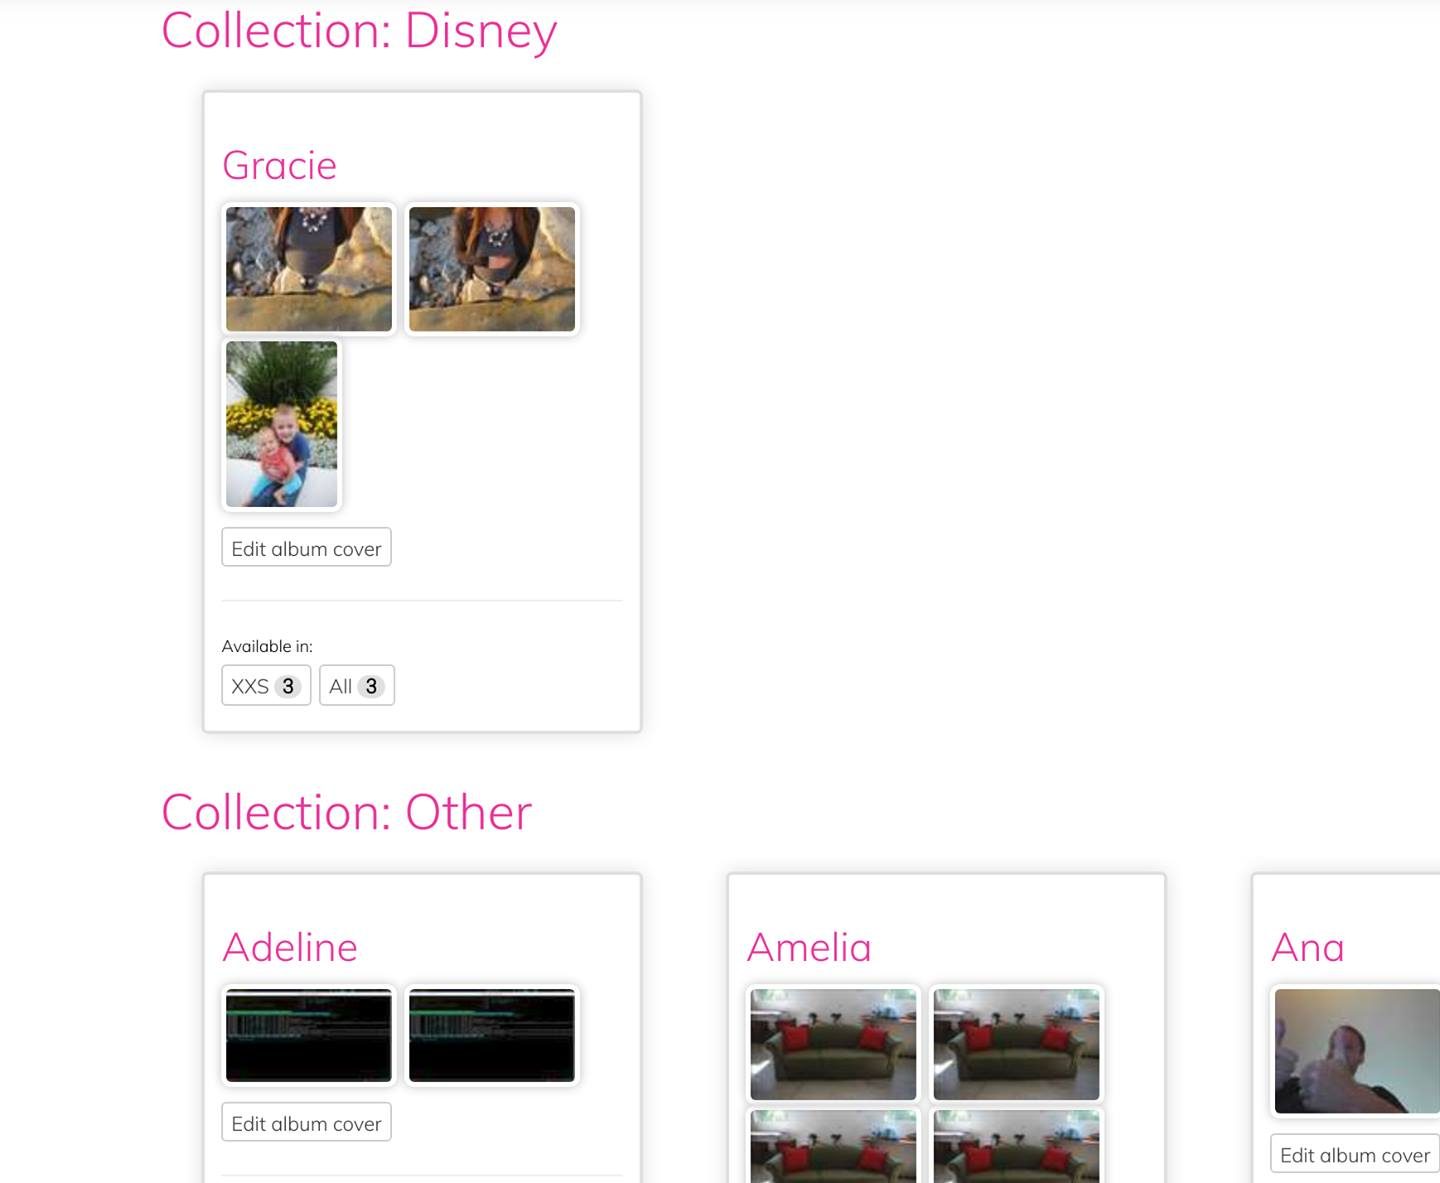
You can also now use your attributes to group items into different sections in STR Parties. See the screenshot below to get an idea of how it works.
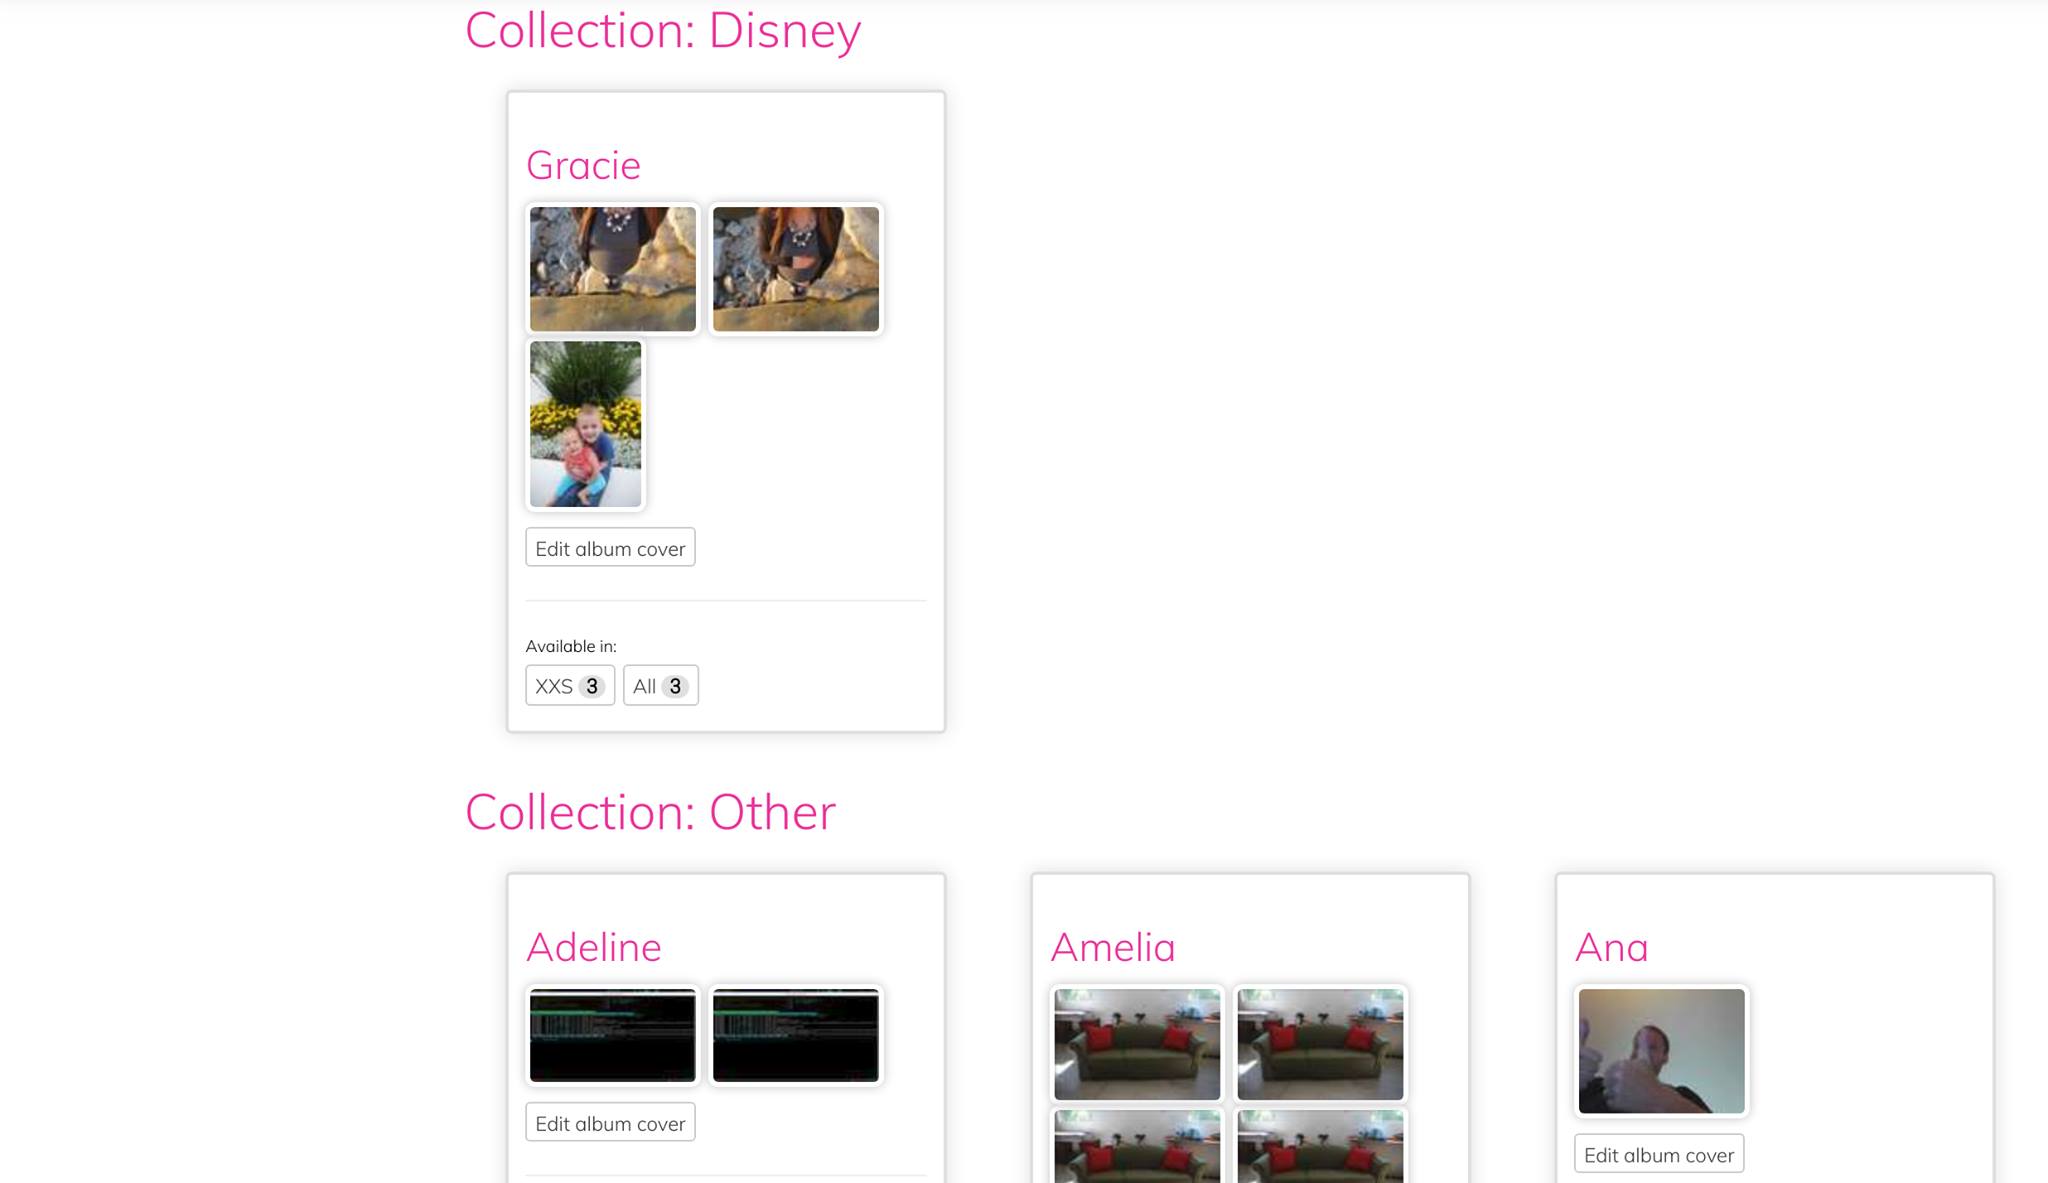
You’ll still see all the same style/size albums, but there will be separate sections on the page for each value of your chosen attribute. For example, say you have a party with 10 items. Some are tagged with “Capsule=Americana” and some are tagged with “Capsule=Halloween”. Your party would then show three groups of albums: Americana, Halloween, and Others. You can use this to keep your Disney items separate, for example. You can use it to group things by color, fabric, collection, or any other attribute! Let your imagination run wild!
As always, if you have any questions while trying these awesome tips, reach out to our amazing customer support team, we’re always happy to help.
Article updated on 10/23 to include the new Quick Add attributes buttons and the Group Parties by attribute feature.
That was awesome info I didn’t realize was three, thank you so much for the share!! ?
Is there a way to use attributes to split albums in a shop the Roe party. For instance, you want to list all your Irmas, but you have you Halloween Irmas at a different price so you want them in their own album in the party? Thanks!
Thanks for the great question Jessica. Right now, there are a few ways to do what you are suggesting, and we’ve got a few improvements planned to make it even easier. First, if you wanted to create a party page just for your Irma’s, you could easily do what you are suggesting by adding all of your Irma’s from your listings page to a Party page, and when setting up the party, selecting the group by attribute to be “Halloween”. This will create two albums in the party, Halloween Irma’s and Standard Irma’s.
If you have many styles in the same party, then I would suggest that you select all of your Halloween Irmas in your inventory or Manual Listings page, scroll to the bottom, and then click “Edit Selected”. Under the Collection attribute, add another attribute value called Halloween Irma’s, and click Save. Then return to the Parties page, select the party, and then group the party by the new attribute that you created, “Halloween Irmas”. This will create two groups for you, all of your items that are not Halloween Irmas, and all of your items that are Halloween Irmas.
If you get a little lost trying to follow the instructions above, no worries, feel free to reach out to our awesome customer support team, or if you just sit tight, we are currently working on some improvements that will allow you to group the items however you want inside the party page that should make this process much easier and straightforward in the future.