For those of you that are new or just need a refresher for how to use Sonlet to post pictures of your inventory items to Facebook Albums, here’s a quick video to show you how, along with step by step instructions below.
Step 1 – Make sure that you’ve added your inventory to Sonlet.com.
Step 2 – Navigate to your Inventory page.
Step 3 – Select the style or style and size that you’d like to post.
Step 4 – Select the items that you’d like to post to Facebook or push the “Select All” Button.
Step 5 – Connect your Facebook account with Sonlet by clicking the Log In button. If you’re already connected, click the Refresh button to make sure all of your groups and albums are available to post inventory photos to.
Step 6 – Select the Facebook group that you’d like to post to.
Step 7 – Select the album that you’d like to post to OR select create new and add a cover photo to create a new album on Facebook.
Step 8 – Add a message to post with your item.
Watch this video to see the message in action.
Step 9 – Click List and post to Facebook now.
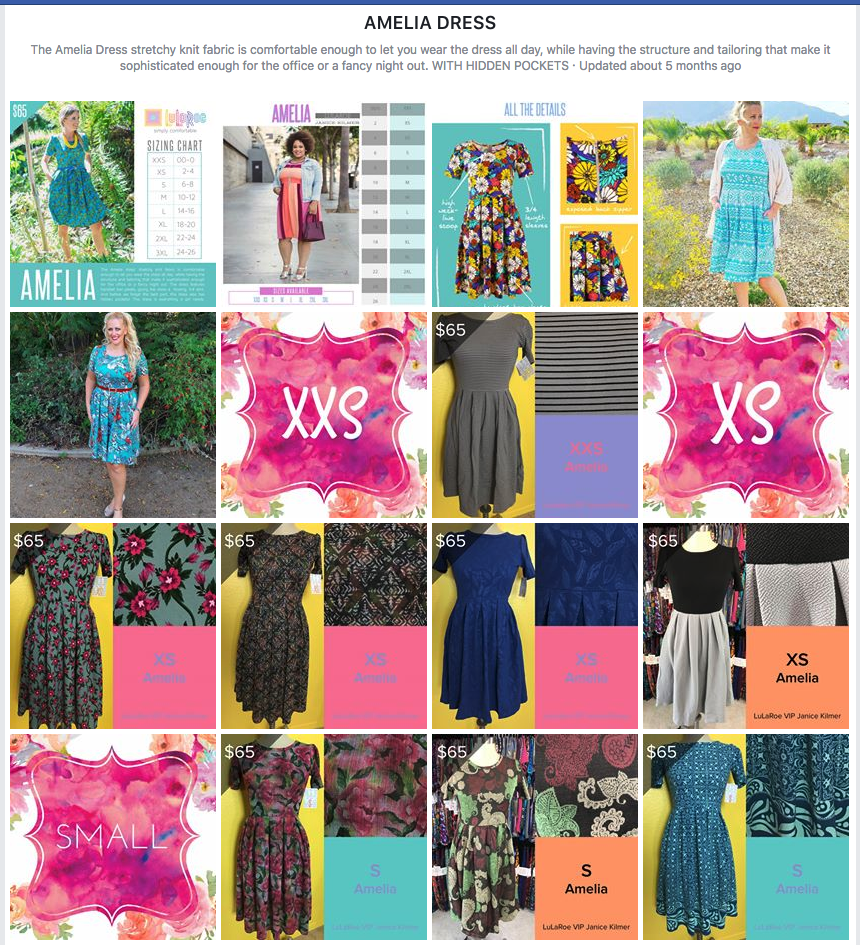
Voilla, you’re photos will be posted to Facebook. If they don’t post right away check out the posting status page to see how long the queue is and when you can expect your items to post. All the photos of your inventory items will be posted to your Facebook album. Here’s an example of what his might look like on Facebook:
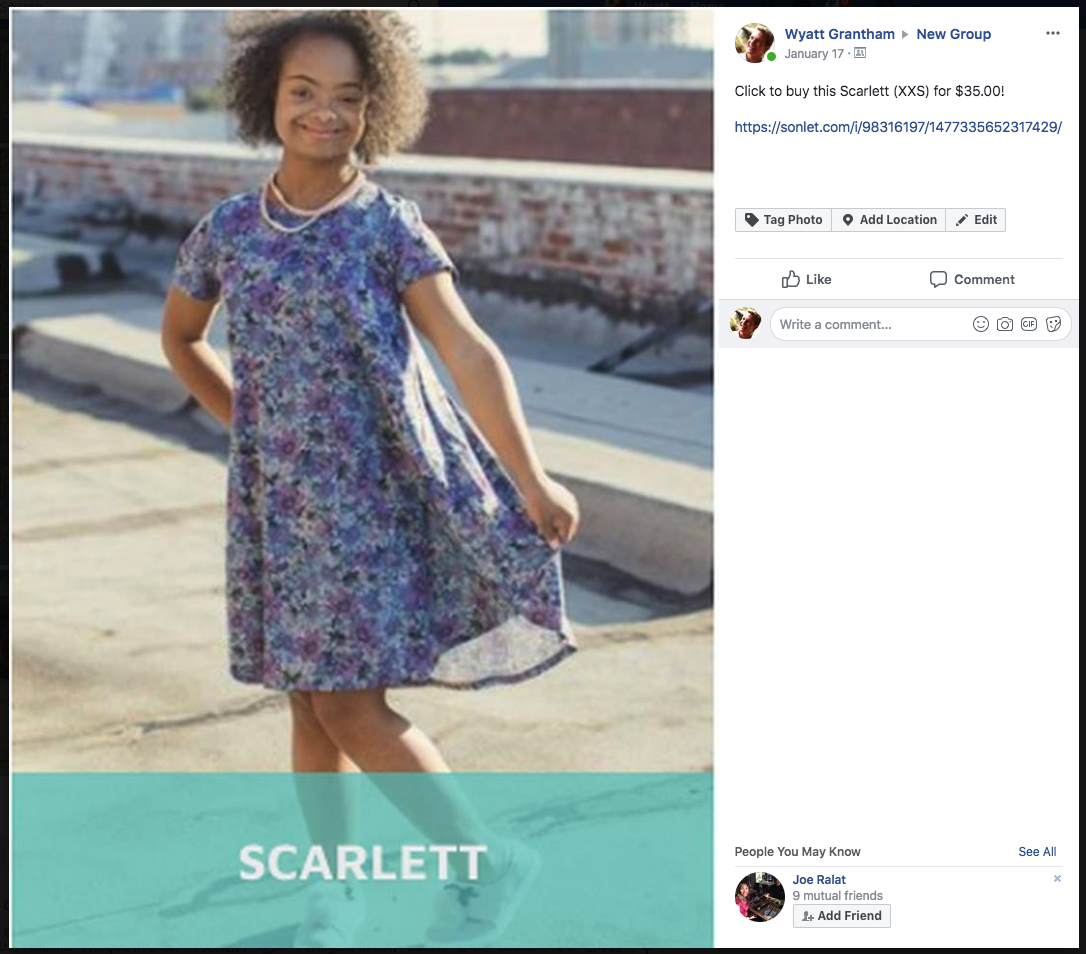
Here’s an example of what a member of your group might see when they click on a photo: